Makes one 9 in tart.
- 2 1/2 c (150g) crushed amaretti cookies
- 1/3 c (75g) melted butter
- 3 tbsp (24g) flour
- 9 oz (250g) dark chocolate
- 1 c (240g) whipping cream
- 1 tsp earl grey tea leaves (or one tea bag)
- 2 eggs
- Pinch of salt
- 1/2 c (100g) granulated sugar
- 3 tbsp (45 g) butter
- 1/4 c (60g) whipping cream
- 1/2 tsp (3g) salt
- First make the caramel by melting the sugar in a saucepan over medium heat. Stir as the edges melt so that it melts and browns evenly. Cook until all the sugar is melted and the liquid is a dark amber color.
- Remove from the heat and stir in butter CAREFULLY (the hot sugar will bubble when you add the butter). Place back on the heat and whisk until the butter is melted and mostly combined.
- Now slowly whisk in the 1/4 c of cold cream (mixture will bubble again), and continue to stir over the heat for a minute or two until the cream and sugar are fully incorporated.
- Let the caramel boil on the heat for a minute. Then remove and add the salt. Set aside to cool.
- Now mix the melted butter, crushed cookies and flour together until the mixture is crumbly and uniformly damp.
- Press the mixture into the bottom of a 9 in tart pan greased and lined with parchment paper. Press into the corners so the crust it rises about a half inch up the side of the pan.
- Bake at 350 F (180 C) for 8-10 minutes until edges of the crust start to turn golden.
- While the crust cools, prepare the filling.
- Chop the chocolate into small pieces and place in a bowl.
- Heat the 1 c of cream with the tea over medium high heat until it is hot and smells of tea but not boiling.
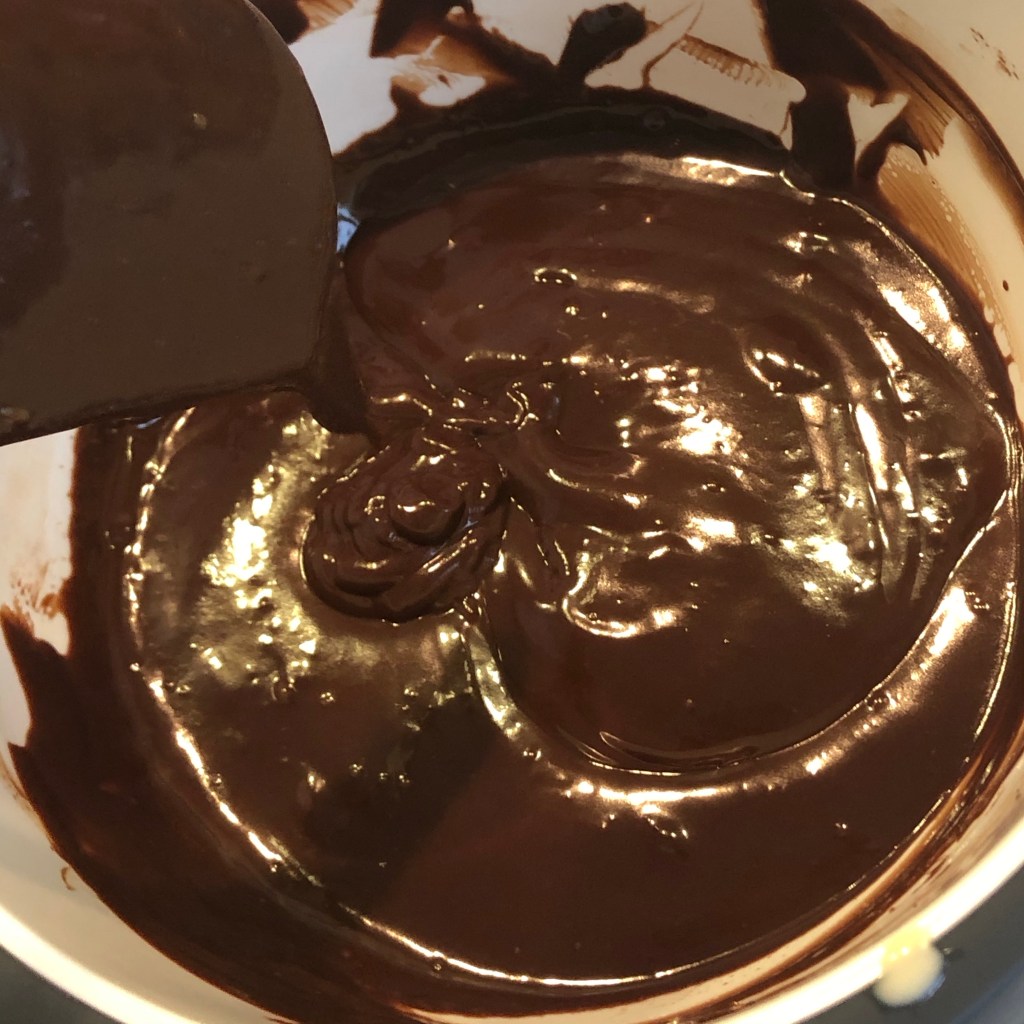
- Strain out the tea leaves and pour the hot cream over the chocolate.
- Let the cream sit on the chocolate for 3 minutes before stirring. Then mix until well combined.
- Whisk together eggs with pinch of salt in a separate bowl and then mix them into the chocolate mixture until combined.
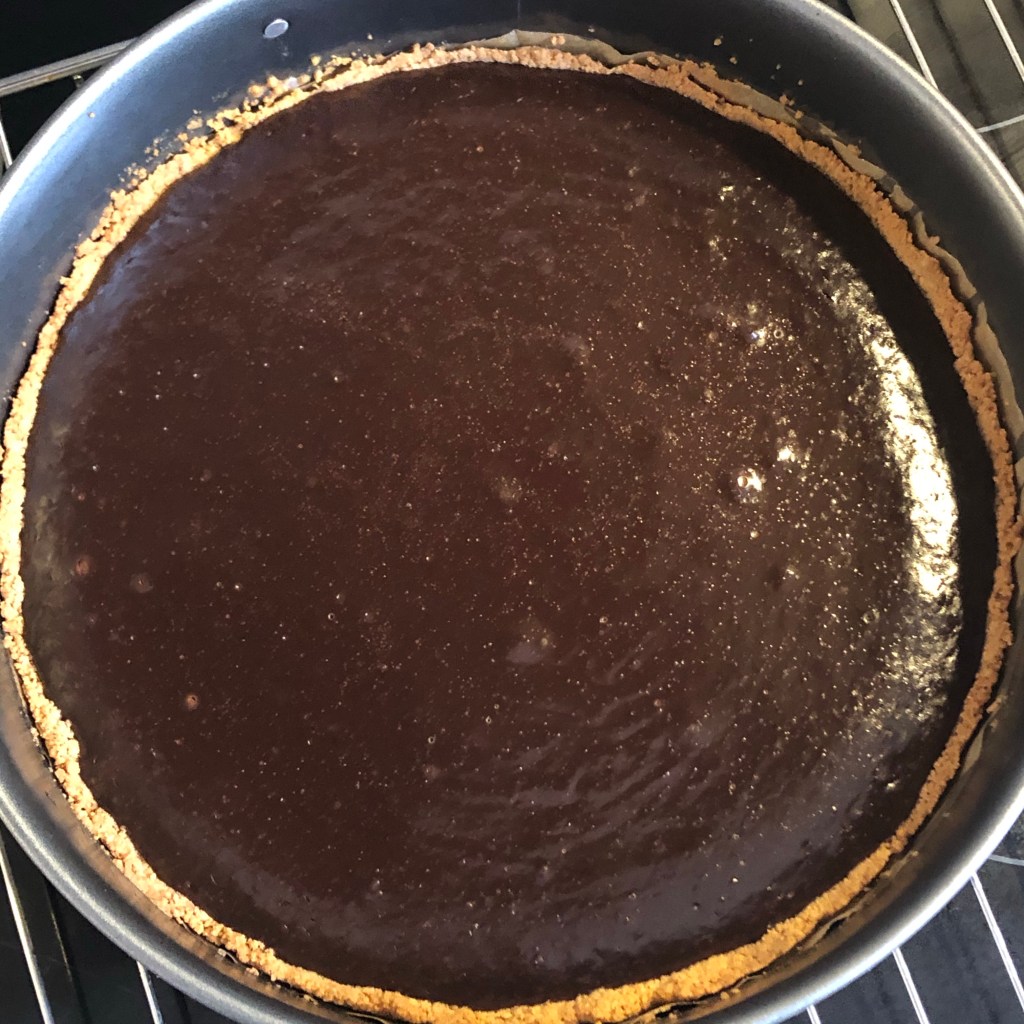
- Pour chocolate filling into the cooled crust and bake for 13-16 minutes at 350 F. Bake until the just the edges look set.
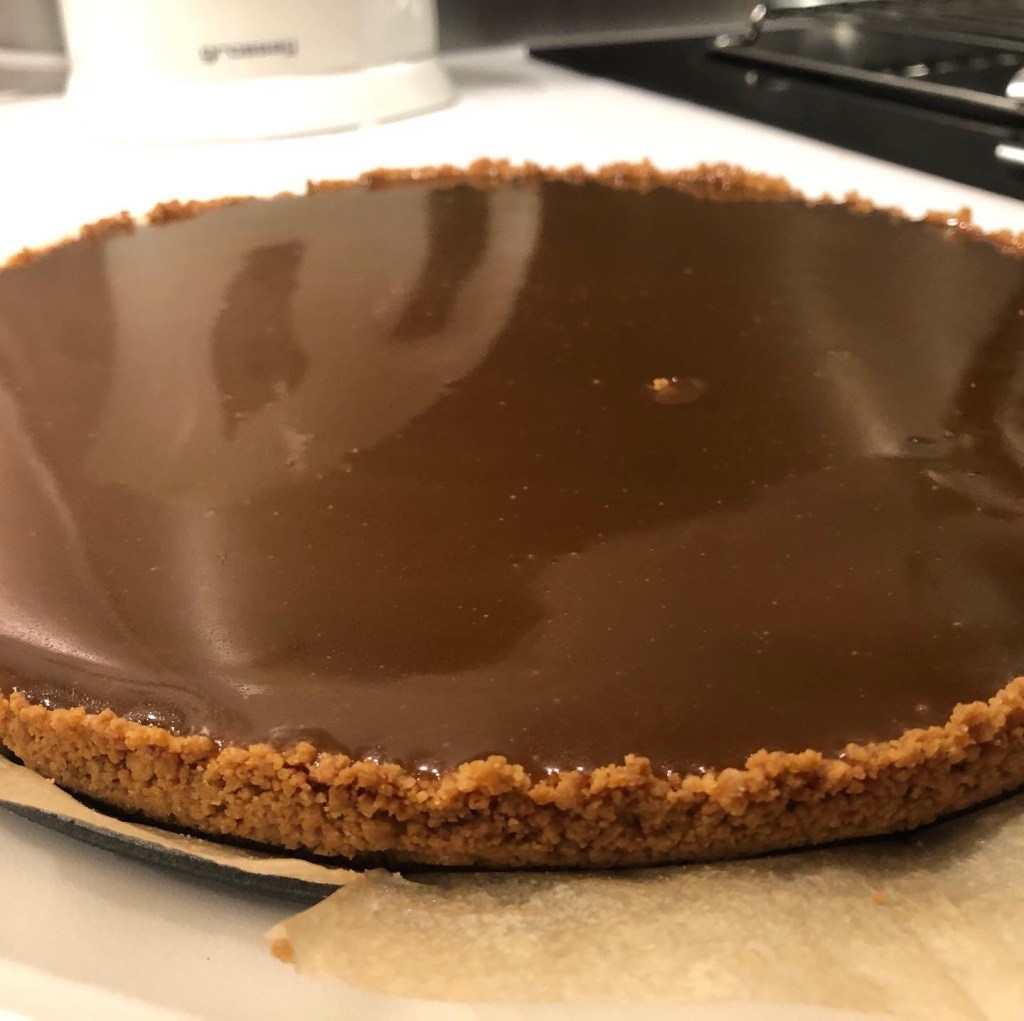
- Let the tart cool to room temperature before pouring a thin layer of caramel over the top and swirling the tart to coat. (Use a bit more than a 1/4 c of caramel or to your taste.)
- Let the caramel set on top of the tart in the fridge for at least 30 minutes before slicing and serving!
TTA (Tips, tricks, alternatives)
If you’ve never made your own caramel before, please don’t be afraid. It’s way easier than it seems and once you know how to make it, you’ll thank me (or hate me but #sorrynotsorry). You can of course just buy some caramel to pour over top, or melt some chewy caramel candies in the microwave if you really don’t want to make it yourself.
First, do not be fooled by recipes that tell you to start by heating sugar and WATER together in a pot. This is supposedly the ‘easier’ way to start a caramel, but that is a lie. It takes longer to turn amber because of the water; you’re not supposed to stir, and you’re not supposed to let it crystallize. But is ALWAYS crystallizes no matter how closely you follow the directions and then you’re stuck trying to figure out how to fix a grainy caramel. It’s much easier to just dump sugar in a saucepan and let it turn molten. You can stir until your heart’s content and it turns into caramel so much faster than the watered-down version. That being said, don’t walk away from the melting sugar, because it will turn from beautiful golden brown to ‘this pot will never be the same’ black in an instant. If it starts to get too dark before the sugar is all dissolved, remove it from the heat and keep stirring to let the residual heat of the sugar melt itself.
Try to use a high sided pot because when you add the butter and the cream to your sugar it will bubble and splatter a bit, and molten sugar is not something you want splashed on yourself ever. When you add the butter it may not fully incorporate into a smooth mixture even though it’s fully melted. That’s fine – adding the cream will smooth it out. When you do add the cream, make sure you stir and scrape all the corners of the bowl to incorporate any molten sugar still trapped at the bottom of the pan.
If your caramel is not completely smooth once you take it off the heat, don’t worry! All is not lost. After you stir in the salt and it cools down for a couple of minutes, you can just pour the caramel through a fine mesh strainer to catch any crystalized lumps. The remaining caramel will be smooth and delicious and no one will be the wiser.
You can also flavor your caramel in a couple ways. One of my personal favorites is by adding 1/2-1 tbsp (10-15 ml) of booze (rum and bourbon are my personal faves) after you take it off the heat, so you don’t cook off all that boozy goodness. You could also add some vanilla or other flavor extract here if you prefer. You can also infuse flavor into your cream before adding it by heating it in a separate pot with whatever you want to infuse (tea, herbs, spices etc) then straining the cream and letting it cool again before you add it to the caramel.
For the crust, if you can’t find amaretti cookies, you could make a short crust dough, use graham cracker crumbs, use chocolate cookie crumbs, or whatever sort of edible filling holder you want to make really. But I would HIGHLY recommend trying the amaretti cookies. Even though I ended up with them almost on accident (see the Storytime section below), I think they were the best thing to happen to this tart. The crust had a delightfully crisp texture and a subtly almond flavor that almost gave the tart a boozy quality without adding any booze.
If you can’t find cookie crumbs in the store already, you can pulverize your cookies in a food processor or spice grinder. You want a little over a cup of finely crushed cookies (think like the texture of coarse sugar, not necessarily as fine as flour). If like me at the moment, you have neither of those things, you can crush your cookies in a ziptop bag using a rolling pin (as an added bonus you’ve now worked out for the day). I didn’t add sugar because my cookies were quite sweet, but you can add a few spoonfuls of sugar to taste depending on your cookies and your sweet tooth.
When you are mixing the crust, you want the cookie crumbs to be all dampened with the butter but not soggy. You should be able to grab a clump of mixture in your hand and have it cling together but not ooze butter. Use your hands to press it into your pan and don’t worry if the sides are a bit crumbly and not French pastry levels of neat – no one will notice while shoveling this tart in their face, I promise.
I didn’t have a proper tart pan, so I used a springform pan, which honestly, I think worked better for slicing and serving the tart without destroying it. Also if in doubt as to when your crust is done pre-baking, better to underbake than overbake. The cookies are already delicious so an underbaked crust will be yummy – a burnt crust will just be sad.
The filling is really stupid easy. Chop up some chocolate. Pour some hot cream over it. Mix. Add eggs. Mix. Pour. The only small details involve having enough patience to let the cream sit on the chocolate before you stir. Trust me it makes your life easier because then the chocolate is basically all melted once you start stirring. And not adding the eggs when the chocolate mixture is too hot so you don’t scramble them. Neither of these steps takes much waiting: 2-3 minutes each should do the trick.
Now I flavored by cream while it was heating with earl grey tea because I love earl grey and dark chocolate together. If you are not a fan you can use some other flavor, or you could skip flavoring it all together and go chocolate purist. Instead of flavoring the cream, once the chocolate is melted you could add vanilla, or strong espresso, or your favorite booze (I think Irish cream would work well here, or kahlua, or amaretto to complement your crust).
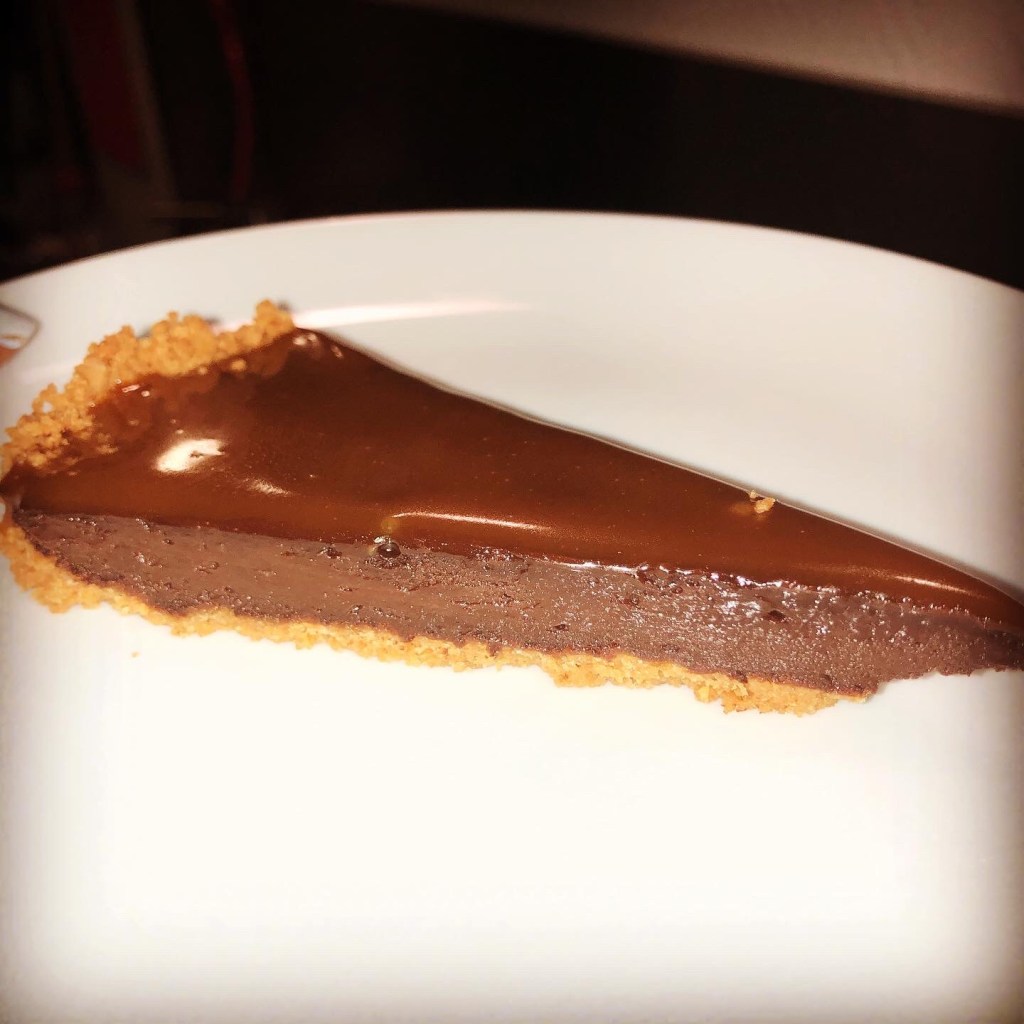
When choosing the chocolate for your tart, I used around 55-60% cocoa chocolate. Keep in mind that if you choose a significantly different cocoa percentage, the amount of cream you need to use will change slightly. Lower cocoa percent has more milk in it already, so you can use less cream so your filling isn’t too liquid. Higher percent dark chocolate has less milk, so you may need to add a bit more cream to get a pourable filling. The texture you’re aiming for is a smooth pour but that still leaves visible ribbons on the surface when you drizzle it onto itself.
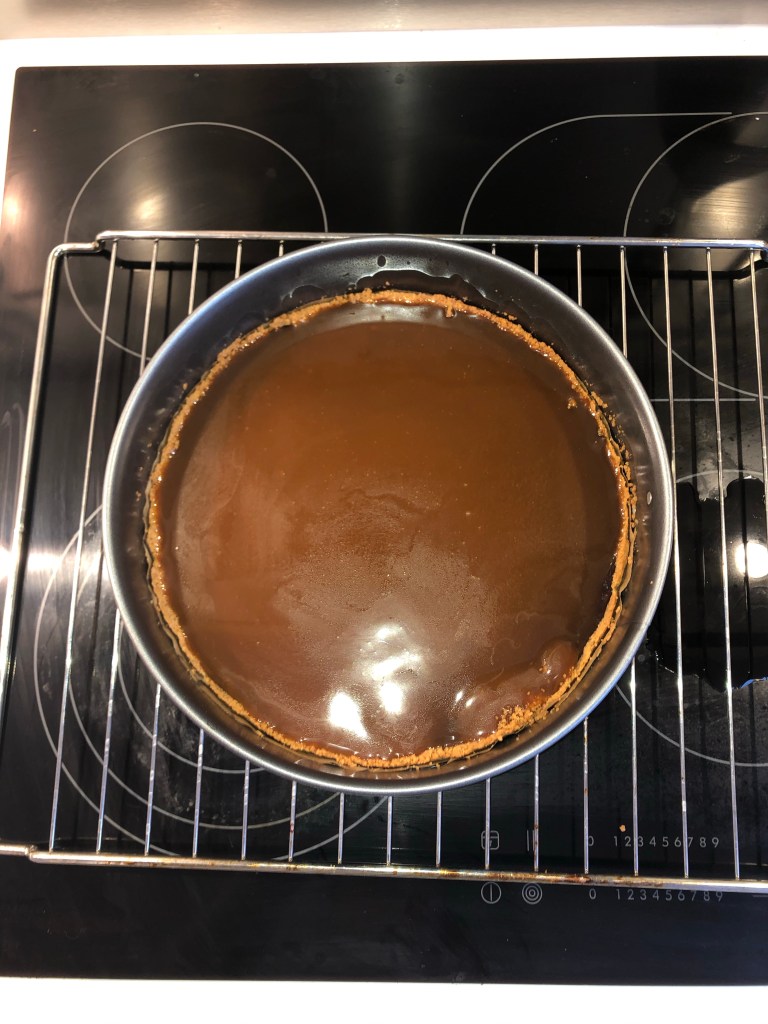
Again for the filling it is better to underbake. Some chocolate tart recipes tell you to bake until the edges are set but the middle still wobbles when you shake it. My filling was never really so liquidy that it wobbled. So instead I baked it until the outside rim (maybe an inch or so) started to look cooked – it was risen a little from the center and took on a bit of a different texture than the rest of the filling. Hopefully the picture below give you a little bit of an idea what it looks like.
Finally, the spring form pan was also great for getting the caramel on top. I heated my caramel in the microwave for 15 seconds or so to make it more pourable, then I started in the middle of the tart and poured most of it in the center with a bit swirling in circles towards the outside of the pan. Then I just picked of the pan and tilted it around until the whole top was covered. You can use a thicker or thinner layer of caramel on top to your taste. Just make sure to let it set in the fridge before serving so that you can get nice clean slices out without dripping caramel.
Story time
I originally was going to make this tart because I had leftover pie dough that I wanted to use up after I had made thanksgiving dessert. But the week after thanksgiving was so busy that I only managed to make the caramel and not the rest of the tart. So by the time I was ready to make it my pie crust wasn’t good anymore, but I had caramel and all the ingredients for the tart. Not wanting to make more work for myself, I decided a crushed cookie crust would be easiest.
Coming from North America, I feel like the go-to crushed cookie crust is graham cracker. As evidenced by the fact that you can just buy boxes of graham cracker crumbs in the grocery store. But now I live in Germany, so of course it was not going to be that easy. So I spent some time wandering through the cookie aisle of the grocery store – which was already vastly different than the cookie aisles I am used to – wondering whether I would even be able to find graham crackers to crush, or if I’d know them if I saw them. Well, if they were there I didn’t recognize them. But I did see this bag of amaretti cookies, which seemed like a good texture for making a crust, so I bought them. And honestly, I think it was the best thing that could have happened to this tart.
More Photos
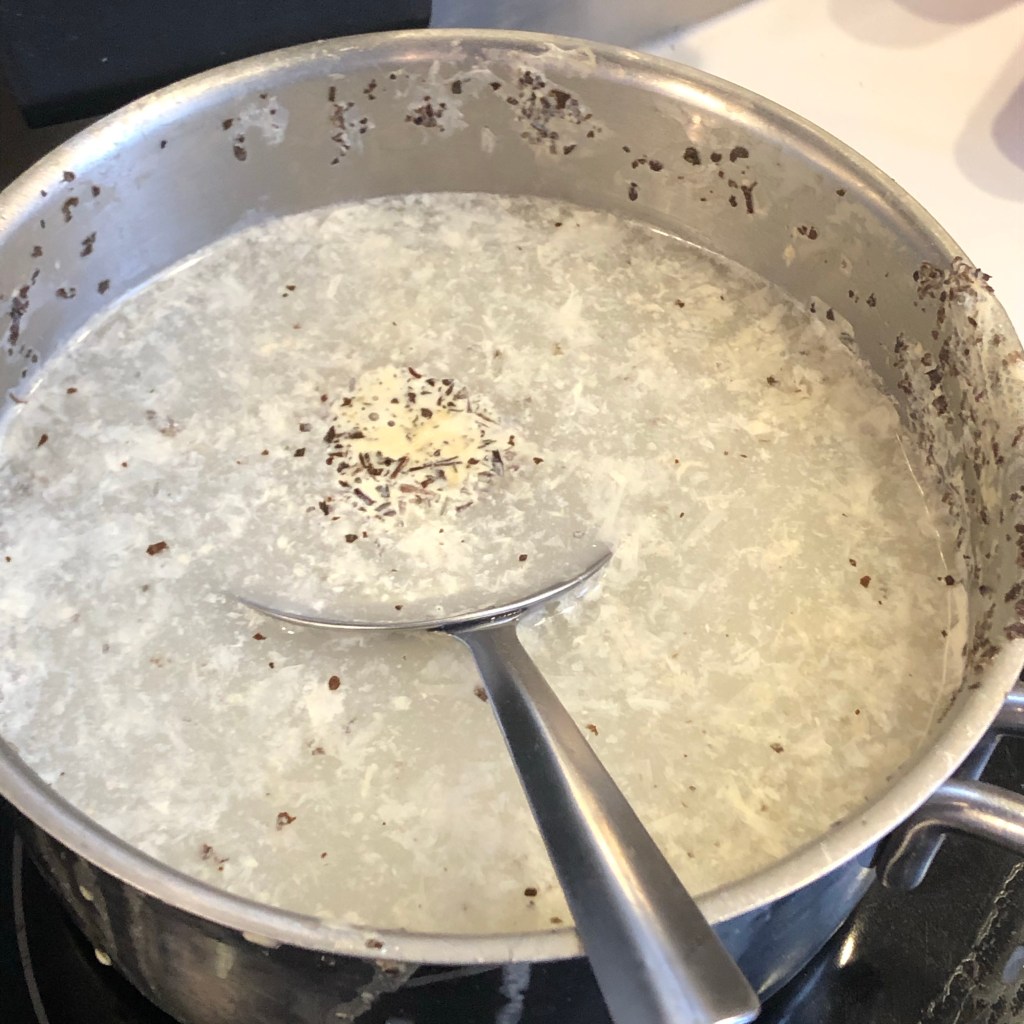

I definitely boiled the cream over the pot and made a mess while steeping the earl grey. You can make mistakes and a mess too and this tart will still be delicious!