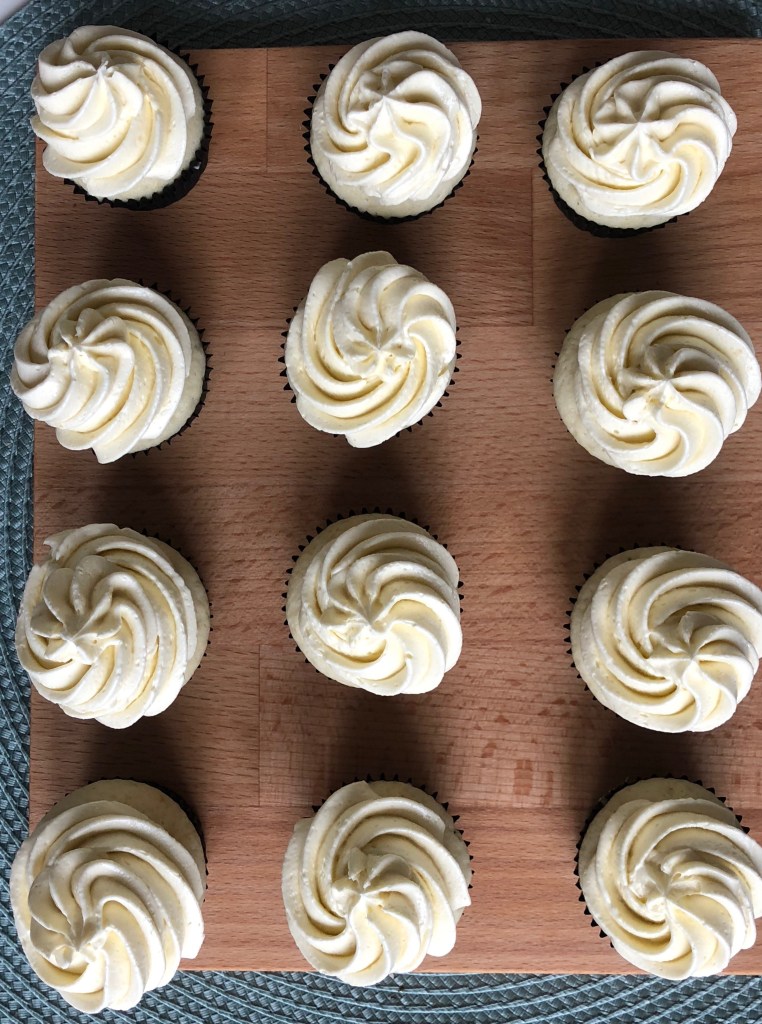
Makes 14 mini cupcakes.
- 1/2 c + 4 tsp cake flour
- 1 tsp lemon zest (half a lemon)
- 1/8 tsp baking soda
- 3/8 tsp baking powder
- 1/8 tsp salt
- 1/3 stick of butter (38g)
- 1/3 c granulated sugar
- 1/2 tsp meringue powder + 2tsp water
- 1/3 c whole milk
- 1 tsp lavender
- 2 tsp lemon juice
- For the icing:
- 1 egg white
- 1/3 c superfine sugar
- 1/3 c butter
- 1/2 tsp lemon zest
- 1 tsp lemon juice
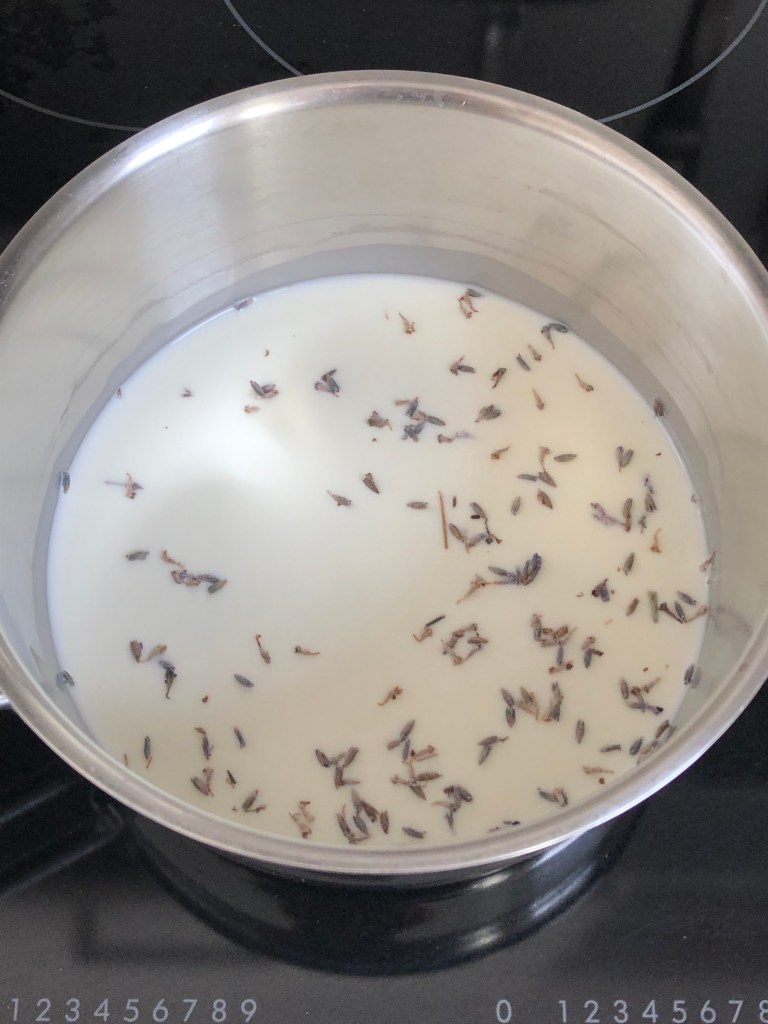
- Put milk in a small saucepan with the lavender. Turn the heat on low and steep until the milk is sufficiently perfumed. Do not let the milk boil. Remove from the heat and strain the lavender out. Top with more milk if there is less than 1/3 c remaining. Let cool.
- Preheat oven to 350F and line muffin tin with liners.
- Whisk together flour, lemon zest, baking soda, baking powder and salt.
- Cream together the butter and sugar with an electric mixer on medium high until pale and fluffy (2-3 minutes).
- Mix meringue powder and water and then add to butter mixture and beat on low to medium until combined.
- Mix milk and lemon juice.
- Add a third of the flour mixture to the butter mixture and beat on low until combined. Then add half of the milk and beat on low until combined. Repeat until everything is combined.
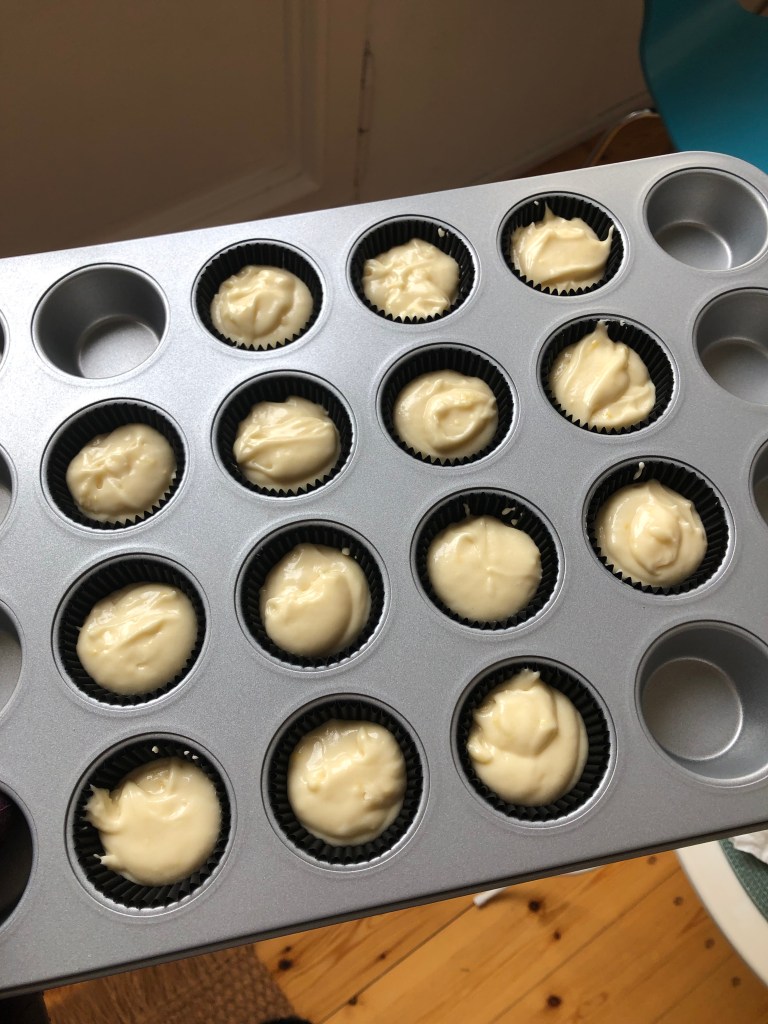
- Fill each muffin cup until 3/4 full. Bake for 8-10 minutes or until a knife or toothpick inserted in the center comes out clean.
- When the cupcakes are done, remove them from the oven to cool while you make the icing.
- Wipe down all your icing bowls and utensils with lemon juice or vinegar to remove any grease residue.
- Whisk together the sugar and egg white in a metal or glass bowl and set it over a pan of simmering water on the stove (medium low heat). Whisk continuously while the egg whites cook (2-4 minutes). The sugar should be completely dissolved and the egg whites hot to the touch (160F if you’re measuring).
- Cut butter into 8 or so cubes and let it sit out at room temperature.
- Remove the eggs from the heat and beat until the mixture on high until the bowl is cool to the touch and the mixture is stiff and glossy (about 3-5 minutes). The meringue should hold stiff peaks.
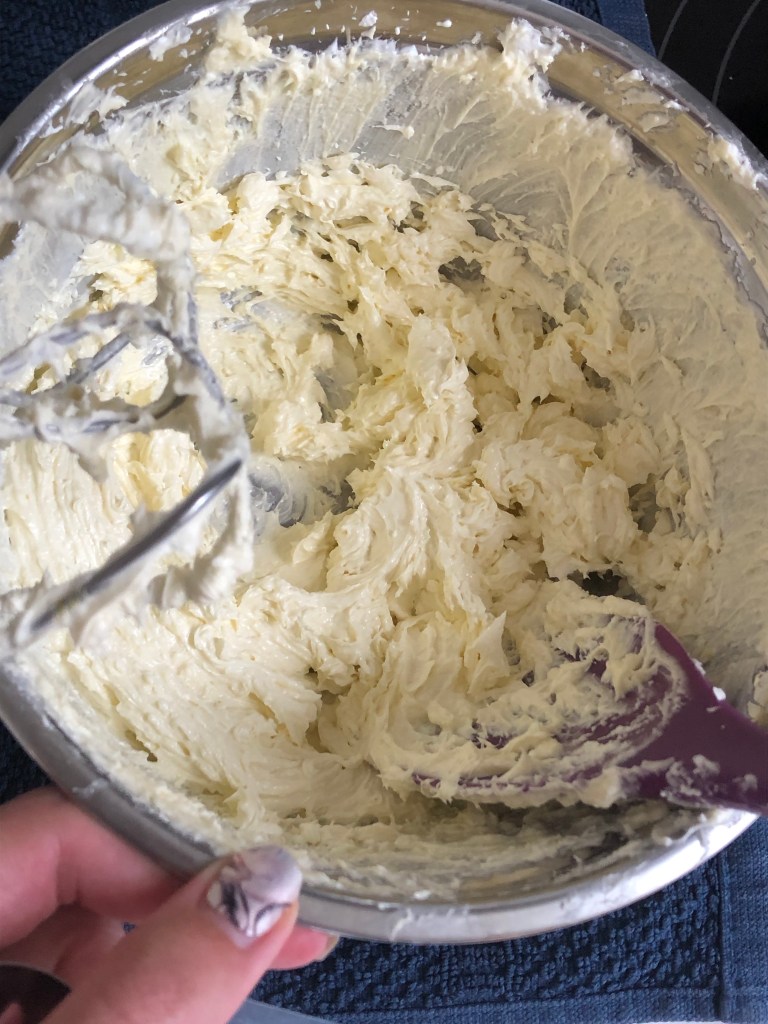
- When the butter is soft to the touch, but not melting, beat the cubes in on medium speed one at a time until fully incorporated. Once all the butter is added turn the mixer back to high and whip for a couple additional minutes until your buttercream is smooth and thick.
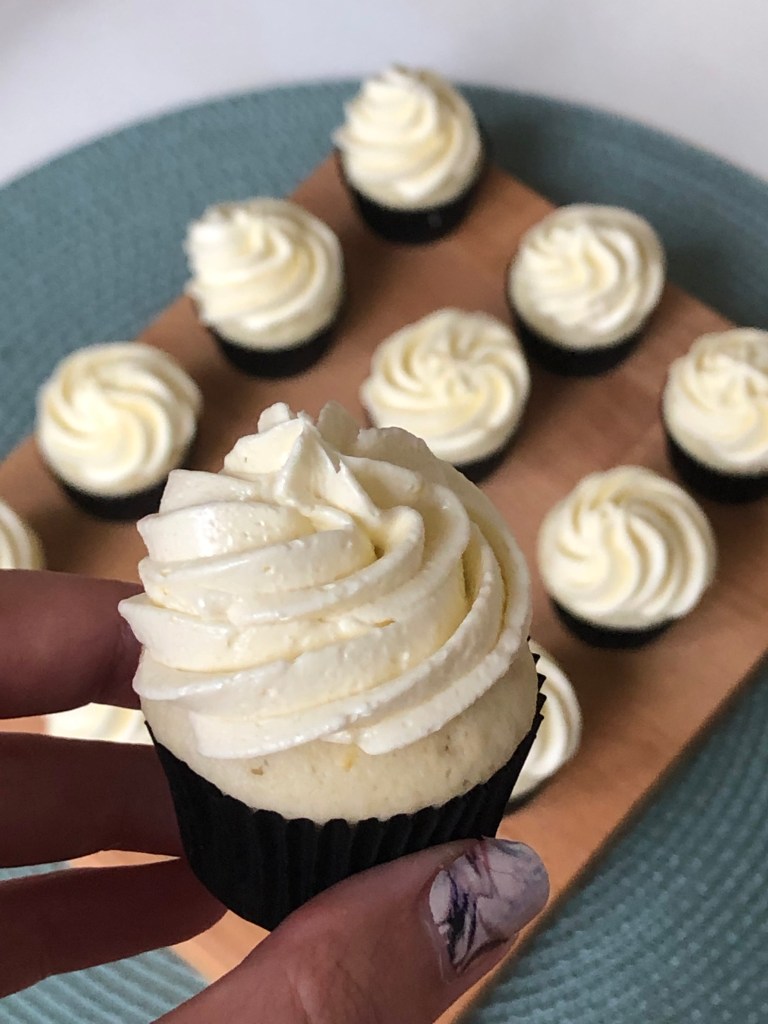
- When the cupcakes are cool. Frost and enjoy!
TTA (Tips, tricks, alternatives)
I adapted this recipe from this lemon cupcake recipe at Handle the Heat (which blissfully has a “jump to recipe” feature).
The original recipe was just lemon, no lavender. If you’re not a fan of lavender, you could stick with the original. My lavender was probably a bit old and I didn’t steep it enough so my cupcakes were mostly lemon anyways. I think it would be great with alternative flavors also. Lemon and mint would be refreshing, but lemon and basil could also be a slightly outside the box hit as well! Just replace the lavender with fresh mint or fresh basil leaves (the quantity is not so important as steeping until you have the desired flavor) that you steep in the milk.
Speaking of milk, I don’t drink it, so I never have it in my fridge. Some times I would buy it specifically for baking, but then there’s a thing of milk in my fridge threatening to go bad unless I come up with a way to use it. Instead of doing that what I often do is just water down the cream that I do have in my fridge for my coffee. I usually go with 1/2 to 2/3 cream and the rest water, but its not really an exact science, and in a cake or cupcakes it doesn’t really matter much at all.
The original recipe was also three times as big, which makes way more cupcakes than I need around my house tempting me. But you can certainly scale the recipe up if you need more cupcakes. If you go with the original quantity, you can use a whole egg in place of the meringue powder and water. Since I’m often cooking/baking for one, using meringue (egg white) powder in place of fractions of eggs is a trick I use all the time. Baked in something you’ll almost never notice the difference; be careful if you’re going to try it in something like a custard where the taste and texture could be quite different than what you’re going for.
My favorite lemon zesting tool is my microplane. If you don’t have one, you should seriously get one (zest, garlic, ginger, nutmeg, parmesan … it’s super handy). But if it’s too late for that, then just use the small holes on your box grater. You could use one of those tools specifically designed to peel zest off fruit, but then you get long strands you have to chop finely, and as far as I can tell, that tool isn’t good for anything else. (Unitaskers, am I right? Shout out to any else who grew up watching Alton Brown cook things!)
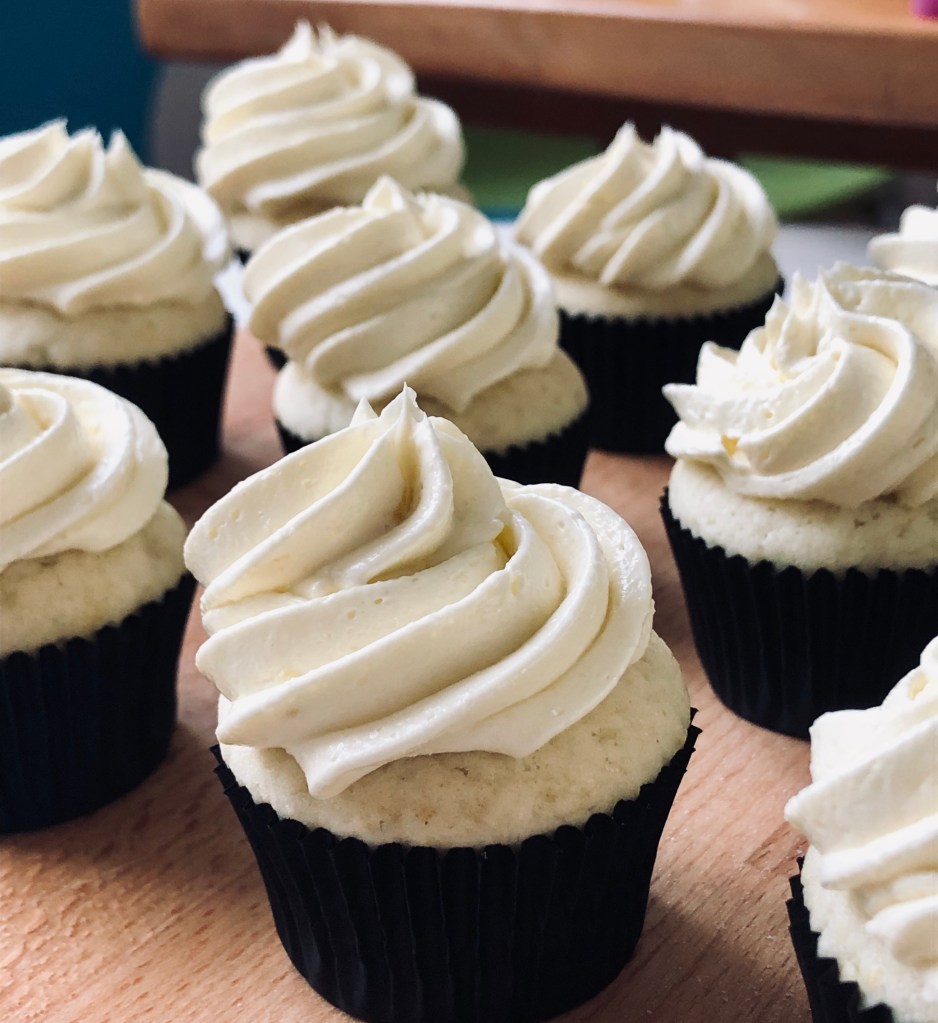
You could definitely do this with all purpose flour. That’s what I usually have around my house and use in my cupcakes most of the time. The cake flour does give the cupcakes a delightfully – for lack of a better word – cakey texture. In froo froo baking terms, it gives your cupcakes a close, tender crumb (literally think about what crumbs falling off your cupcake are like, small, soft, delicate … delicious!).
Ok, icing. Here’s the kind of technical part. If you’ve never made a meringue before, it might seem a little intimidating, but the basic steps are simple and it takes only 3 common, cheap ingredients, so if you mess it up, it’s not the end of the world to start over.
Alright, so important meringue fact number 1: meringues and fat don’t mix. If there is a drop of oil in your bowl or egg yolk in your egg whites before you start whipping the meringue, it will never whip up to stiff peaks. Throw it out, start over, save yourself the heartache. That’s why we wipe down everything with acid before we start (and also avoid plastic bowls which tend to hold onto grease no matter how OCD-ily we wash them). Again, you can substitute meringue powder here. It will save you the fear of the egg yolk invasion.
You want the sugar to dissolve in your egg whites while you cook them to avoid getting a grainy icing, which is why I recommend superfine sugar. I didn’t have any for this particular go around and trust me, my whisking arm was sad about it. Things labeled “caster sugar” or “berry sugar” are basically also super fine white sugars and will do the trick. You can also whizz up some regular old granulated sugar in a food processor or spice grinder. You can also just use the granulated sugar and get a good arm workout. Powdered sugar would do in a pinch, but if you want to start subbing different sugars we should really start talking weight ratios here instead of volumes. But like I already said, it’s three cheap ingredients, so feel free to experiment with what you have and let me know if it turns out amazing!
Ok, so now you’ve whisked over your double boiler until your sugar is dissolved. The next thing you should be looking for is that your egg whites are cooked. That’s 160F if you feel like busting out your candy thermometer and getting technical. But honestly, if you’ve had it over the heat (simmering water) until the sugar is dissolved, it’s probably cooked. Feel free to give it a little touch – it should feel hot. As an added bonus you can now rub it between your fingers to make sure no big sugar grains remain.
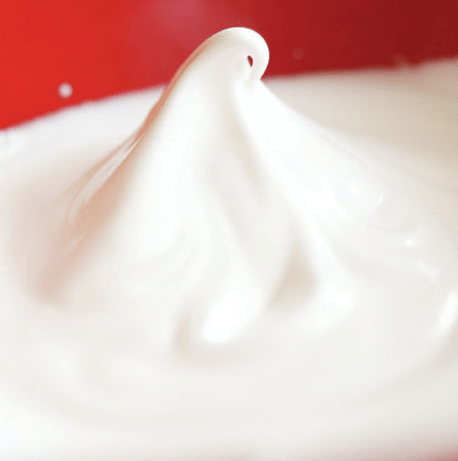
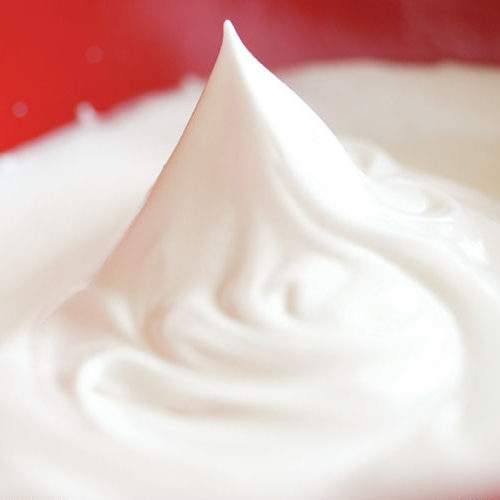
If you have a stand mixer, I recommend using its bowl for the meringue mixture so that at this stage you can pop it back on the machine to whip and just walk away. This is not something I have right now, so a regular old electric hand mixer will do. If you’ve never made meringue before, you may be fooled into stopping when you’ve reached the stage of the first picture below (left). That egg white is standing up on its own, seems pretty stiff, no? NO. Keep going for another minute or so and then check again (check regularly now so you don’t over whip) until you get the second picture (on the right). Stiff to the very peak.
As for adding the butter, you want it still firm so that your beautiful meringue buttercream has some structure and doesn’t turn to soup. But you also want it soft enough that it easily incorporates into the meringue you just spent all that time whipping air into. Room temperature should do it, but you can check it by pressing it with your finger. The cubes should be easy to dent but shouldn’t feel like your finger could easily press all the way through or that the cubes are going to slip and slide around on the cutting board. Add any flavor or color AFTER the butter is fully incorporated.
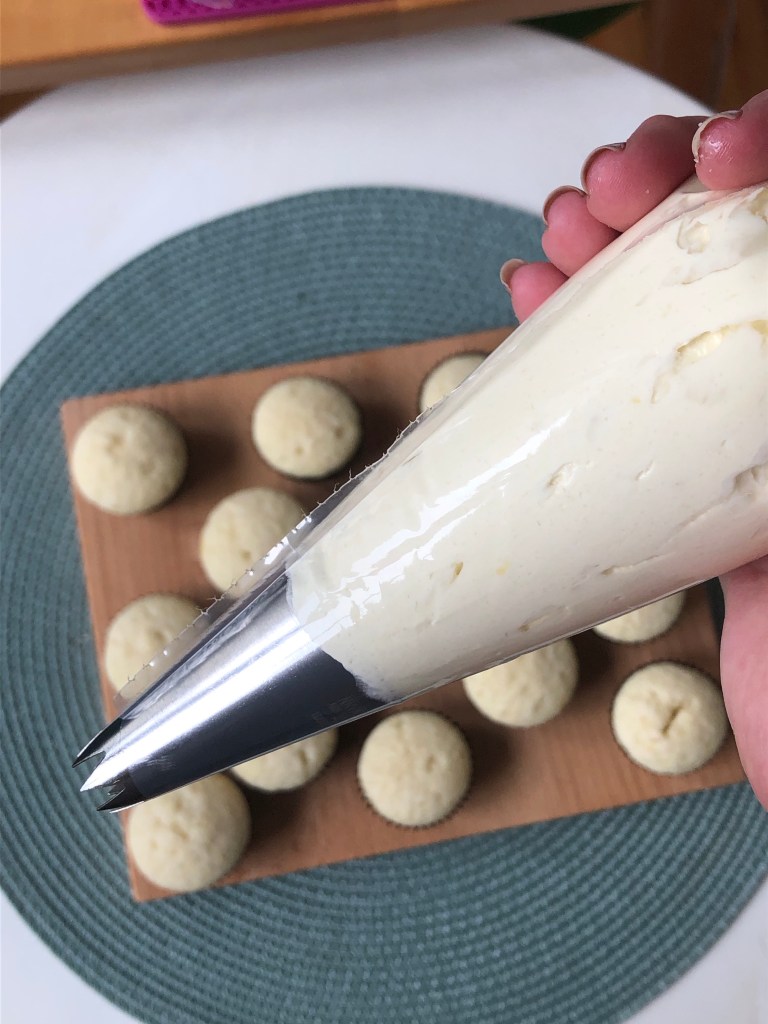
Of course, if all of that is still way too scary, feel free to go with a classic American buttercream (beat together butter with powdered sugar and add flavorings) or a cream cheese frosting (basically American buttercream + cream cheese). But trust me, if you’ve been making American buttercream and have ever thought it might be a bit much, or too sweet, this Swiss meringue buttercream (that’s what we made, by the way) will change your life. Also feel free to slop that icing on however you see fit! It will be delicious whether you use a piping bag with a number 16 tip (that’s what I did – always use a bigger piping tip than you think you need, trust me), a ziplock bag with a corner cut off, or a spatula to slop it on top!
These guys are best fresh of course, but I ate mine over the course of like 5 days and they were still delicious. Unlike American buttercream, your frosting won’t get a crust on it if you leave them out overnight. (Even on day 5 my cake was getting crusty before my icing!) This makes them an ideal make ahead for parties. No one will notice that you made them the day before. It does make them a bit harder to transport without mangling your frosting job though, just FYI.
Story time
Confession: this was actually my first time making Swiss meringue butter cream. So I guess you can take all my above advice with a grain of salt, but it’s certainly not my first meringue rodeo. Honestly, it’s been on my baking bucket list for while and I don’t know what took me so long! I’ve never been a huge fan of cloyingly sweet over-iced cakes or cupcakes, and now that I’ve made this Swiss meringue butter cream, I’m never eating another American butter cream again.
I’m not entirely sure what possessed me to try it for the first time in a new country and a new kitchen with somewhat unfamiliar tools and ingredients. But call it beginner’s luck, or my amazing kitchen prowess, or some combo of the two it worked out deliciously on the first try! Sure it’s more finicky and time consuming, but the taste and texture improvement far outweighs the hardship of three stages of beating the hell out of this stuff. I haven’t been able to stop thinking about when it’s acceptable to start making more cupcakes since I ate the last one of these babies.